A DIY garden path is the #1 upgrade for your backyard that adds both beauty and functionality. You’ll want to choose durable materials like gravel for great drainage or flagstone for a polished look. Plan a layout that connects key areas with inviting curves. With essential tools like a shovel and rubber mallet, you’re ready to install. Don’t forget to consider maintenance to keep your path looking fresh. Discover more tips to enhance your outdoor space.
Key Takeaways
- A DIY garden path enhances your backyard’s aesthetics and functionality by connecting key areas and guiding visitors through your space.
- Choose durable materials like gravel, flagstone, or concrete pavers that fit your desired style and maintenance preferences.
- Plan a curved layout for a more inviting feel, ensuring the path width accommodates comfortable walking.
- Use essential tools such as a shovel, rake, and rubber mallet to facilitate the installation process effectively.
- Regular maintenance, including clearing debris and inspecting for wear, ensures your garden path remains beautiful and functional for years.
Choosing the Right Materials for Your Garden Path
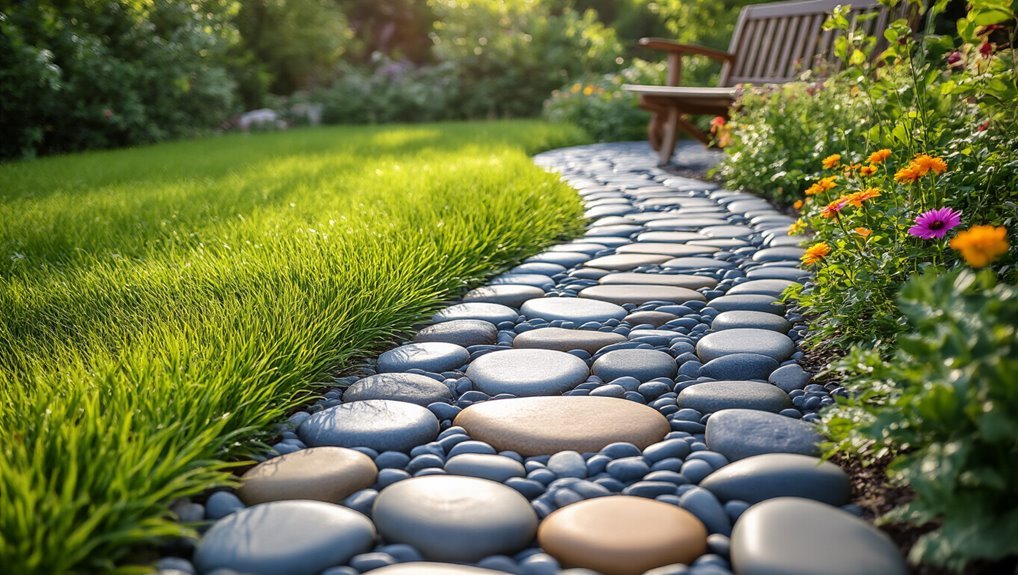
When you’re planning your garden path, choosing the right materials can make all the difference in both functionality and aesthetics. You’ll want to consider durability, maintenance, and style.
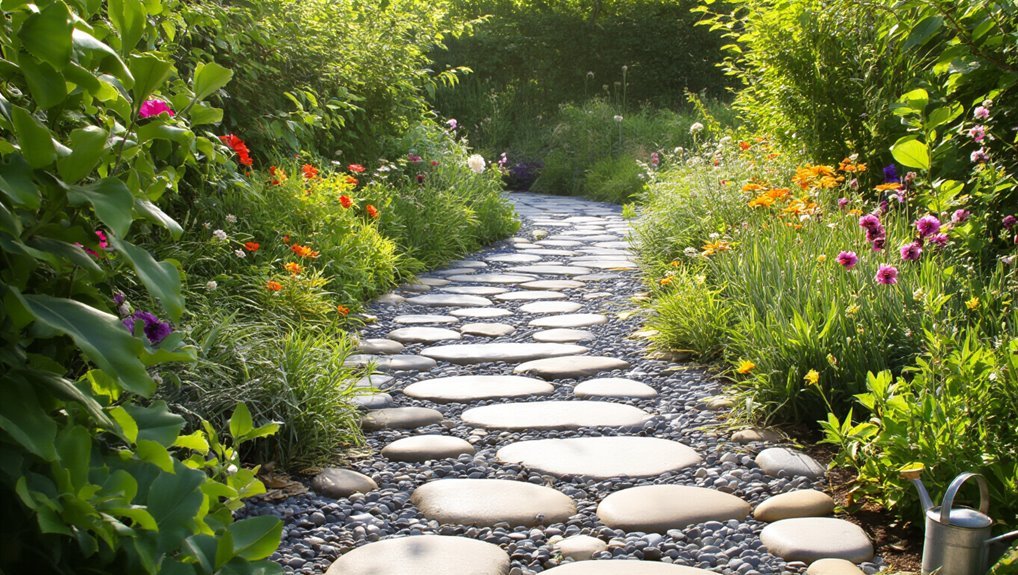
Gravel offers excellent drainage and a casual look, while flagstone provides a more polished appearance. If you’re after something budget-friendly, concrete pavers are versatile and easy to install. For eco-conscious gardeners, incorporating a compost bin near your path can enrich your soil and reduce waste.
For a rustic vibe, reclaimed wood or bricks can add character. Remember to think about your climate; some materials perform better in wet conditions than others.
You’ll also want to factor in how often you’ll walk on the path—high traffic areas may need sturdier options. Ultimately, the right choice will enhance your garden’s beauty while serving your practical needs. If you want to further elevate your outdoor space, consider integrating raised garden beds alongside your path for added dimension and planting opportunities.
Planning Your Path Layout

As you begin planning your path layout, it’s essential to envision how the path will flow through your garden. Start by identifying key areas you want to connect, like seating spaces, flower beds, or other features. Adding Garden Trellis Netting along your path can maximize vertical growing space and offer extra support for vining plants.
Think about the natural lines of your landscape—curved paths often feel more inviting than straight ones. Measure the distances to ensure your path is proportional to your garden space.
Consider the width of the path; it should be wide enough for comfortable walking but not so wide that it overwhelms your plants.
Lastly, visualize how the path complements the overall aesthetics of your garden. Sketch your ideas on paper, adjusting as needed until you find a layout that feels just right.
To further enhance your garden’s design, consider incorporating beautiful trellises along your path to support climbing plants and add vertical interest.
Essential Tools and Equipment

With your path layout sketched out, it’s time to gather the tools and equipment that’ll bring your vision to life.
You’ll need a shovel for digging, a rake to level the ground, and a tamper to compact the soil. If you’re using stones or pavers, a rubber mallet will help set them without cracking. A level ensures your path remains even, while a garden hose or string can help outline the edges. When choosing a hose for this task, you might find garden hose reels especially useful for keeping your work area organized and tangle-free.
Don’t forget gloves to protect your hands and a wheelbarrow for easy transport of materials. Lastly, consider a measuring tape to keep everything accurate.
For outlining or watering needs, consider browsing Essential Garden Hoses to find the right fit for your gardening toolkit. With these essentials in hand, you’re ready to kick off your DIY garden path project!
Step-by-Step Installation Guide
Installing your DIY garden path can be broken down into five simple steps. First, choose your path’s location and outline it with stakes and string. Next, dig a trench about 4-6 inches deep, ensuring a steady base. After that, layer sand or gravel to create a solid foundation. Then, lay your chosen stones or pavers, making sure they’re level and spaced evenly. Finally, fill in the gaps with soil or sand and compact it down. Keeping your supplies tidy with a garden tool organizer can make the installation process smoother and prevent misplaced tools.
To make your garden path edges crisp and professional, consider using edging tools to define the borders and prevent your materials from shifting over time.
| Step | Action | Tips |
|---|---|---|
| 1 | Outline the path | Use stakes for guidance |
| 2 | Dig the trench | Maintain consistent depth |
| 3 | Add a base layer | Ensure it’s compacted well |
Follow these steps, and you’re on your way to a beautiful garden path!
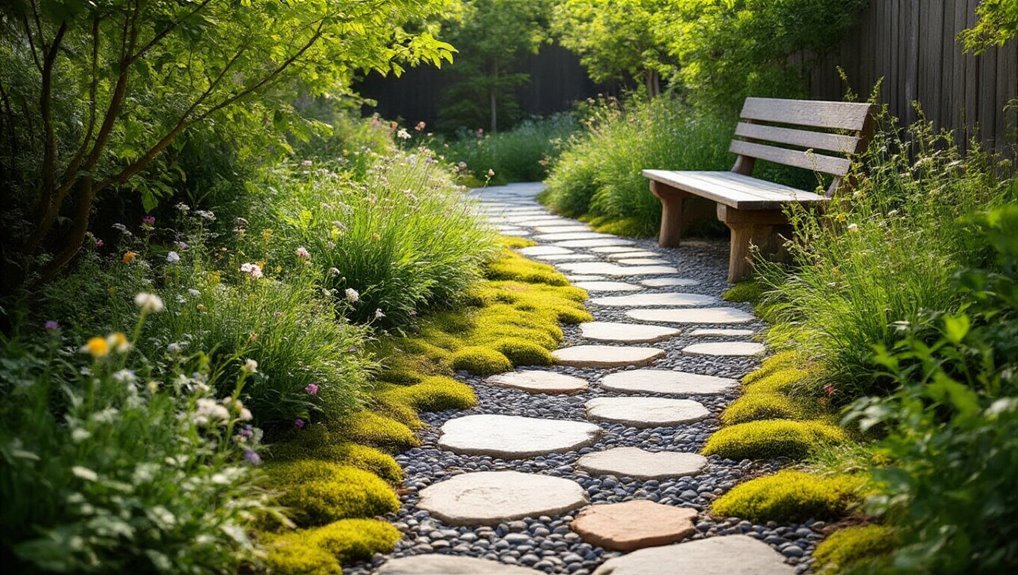
Enhancing Your Path With Landscaping
To truly bring your DIY garden path to life, consider enhancing it with strategic landscaping elements.
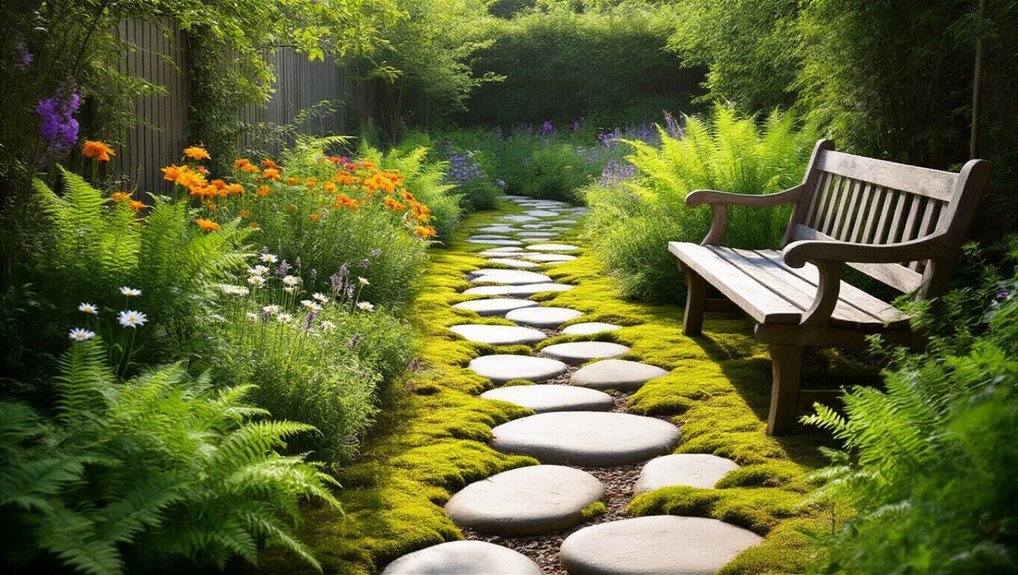
Start by adding colorful flowers along the edges; they create a vibrant contrast and guide visitors along the path. Incorporate decorative stones or mulch between plants to define the walkway and suppress weeds. You might also include low-growing ground covers that spill over the sides, softening the path’s appearance.
Consider adding small solar lights to illuminate your path at night, enhancing safety and ambiance.
Finally, think about incorporating ornamental features like garden art or a small bench. These additions not only beautify your space but also make it more inviting, transforming your garden path into a stunning focal point for your backyard.
Maintenance Tips for Longevity
While creating a beautiful garden path is rewarding, maintaining it is essential for ensuring its longevity. Regularly inspect your path for any signs of wear, such as cracks or loose stones. Address issues promptly to prevent further damage.
Keep the surface clear of debris, leaves, and weeds, which can accumulate and affect aesthetics and safety. Depending on your materials, you might want to apply a sealant every few years to protect against weathering.
Additionally, consider refreshing the edging and filling gaps with gravel or sand to maintain stability. Finally, don’t forget to wash your path occasionally to keep it looking fresh and inviting.
With these simple maintenance tips, your garden path will remain a stunning feature for years to come.
Frequently Asked Questions
Can I Use Recycled Materials for My Garden Path?
Absolutely, you can use recycled materials for your garden path! Items like old bricks, stones, or wood pallets not only save money but also add unique character to your outdoor space. Get creative and enjoy the process!
How Do I Prevent Weeds From Growing Between Stones?
To prevent weeds from growing between stones, you can use landscape fabric beneath the stones, fill gaps with sand or gravel, and regularly apply a natural herbicide to keep your pathway looking neat and maintained.
What Is the Best Width for a Garden Path?
The best width for a garden path depends on your needs. Generally, aim for at least two feet wide to allow easy movement. For two people, consider three feet to ensure comfortable passing.
How Long Does a Garden Path Installation Take?
When you’re planning your path, installation typically takes a day or two, depending on design complexity and materials. With proper preparation, you’ll see satisfying results swiftly, transforming your outdoor space into a stunning sanctuary.
Are There Any Permits Needed for Garden Path Installation?
You might need permits for garden path installation, depending on local regulations. Check with your city or town’s planning department to ensure you’re compliant with any zoning laws or requirements before starting your project.
Conclusion
By crafting your own garden path, you’re not just paving a way through your backyard; you’re creating a tapestry of beauty and function. With the right materials, a thoughtful layout, and a sprinkle of creativity, your outdoor space transforms into a welcoming retreat. As you walk along your path, let the whispers of nature guide you, reminding you that even the simplest upgrades can cultivate joy and serenity in your own little slice of paradise.


