To plant and care for tulips, start by choosing varieties suitable for your climate. Plant bulbs in the fall, about six to eight weeks before the ground freezes. Ensure the site has well-draining soil, clear of debris. Water deeply but infrequently during the growing season and apply a balanced fertilizer. After blooming, let the leaves die back naturally to store energy in the bulbs. There’s so much more to make your tulips thrive and burst with color next spring.
Key Takeaways
- Plant tulip bulbs in fall, six to eight weeks before the ground freezes for optimal growth.
- Choose well-draining soil and a sunny location to prevent excess moisture.
- Water deeply but infrequently, starting when shoots emerge in spring.
- Allow foliage to die back naturally after blooming for energy storage in bulbs.
- Store bulbs in a cool, dry place until replanting for continuous spring color.
Choosing the Right Tulip Varieties
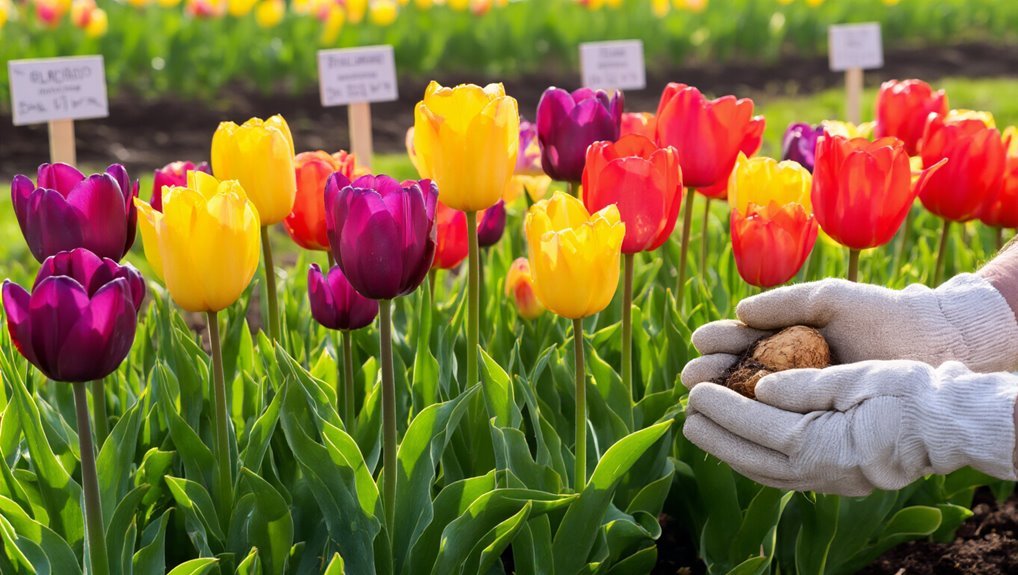
When you’re choosing tulip varieties for your garden, consider factors like climate, soil type, and desired bloom time.
Start by selecting varieties suited to your region’s climate; some tulips thrive in cooler areas while others prefer warmer conditions. Assess your soil type too, as well-drained soils promote healthy growth. If you’re interested in expanding your gardening skills, you might want to explore herb garden kits that come with seeds and pots, which can be a great addition to your garden space.
If you’re after specific colors or patterns, explore the array of tulip classifications, such as Triumph, Darwin Hybrid, or Parrot tulips, each offering unique traits.
Finally, think about when you want them to bloom. Early, mid, and late-blooming varieties can create continuous color in your garden.
To deepen your understanding of tulip cultivation, you might find inspiration in gardening books that cover a wide range of flower care and planting tips.
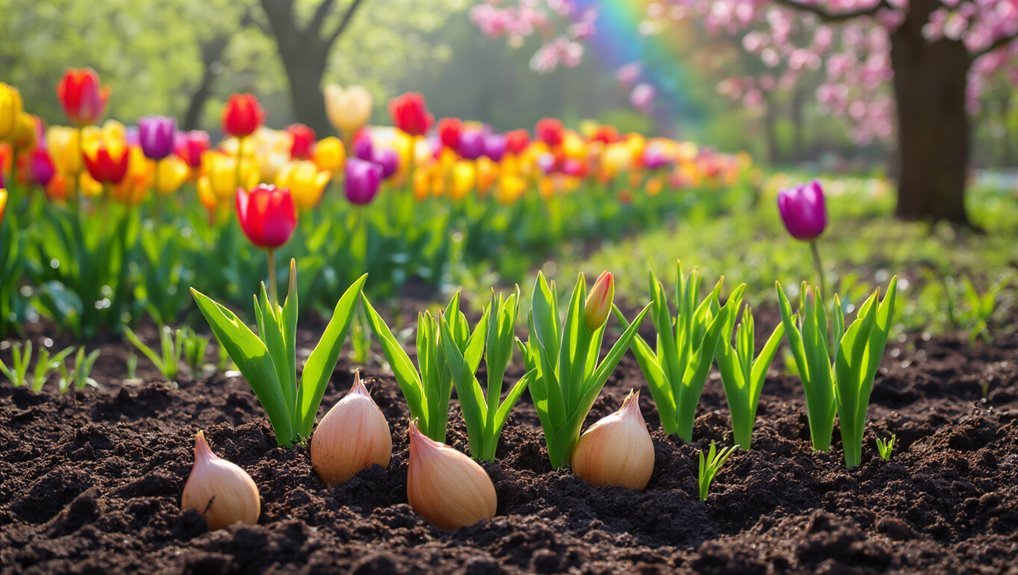
When to Plant Tulip Bulbs
To ensure your tulips flourish, aim to plant the bulbs in the fall, about six to eight weeks before the ground freezes. This timing allows the bulbs to establish roots while the soil is still warm. Using a seed starting kit can help you get a head start on your garden by allowing you to start your bulbs indoors if outdoor conditions are not yet ideal.
In most regions, this means planting from mid-September to early November. If you wait too long, the ground may harden, making it difficult for the bulbs to settle in.
Be mindful of your local climate—if you live in a warmer area, you might need to adjust your timing. On the other hand, colder regions might require earlier planting.
For the healthiest tulip blooms, consider using garden soil that is rich in nutrients and well-draining to give your bulbs the best possible start.
Preparing the Planting Site
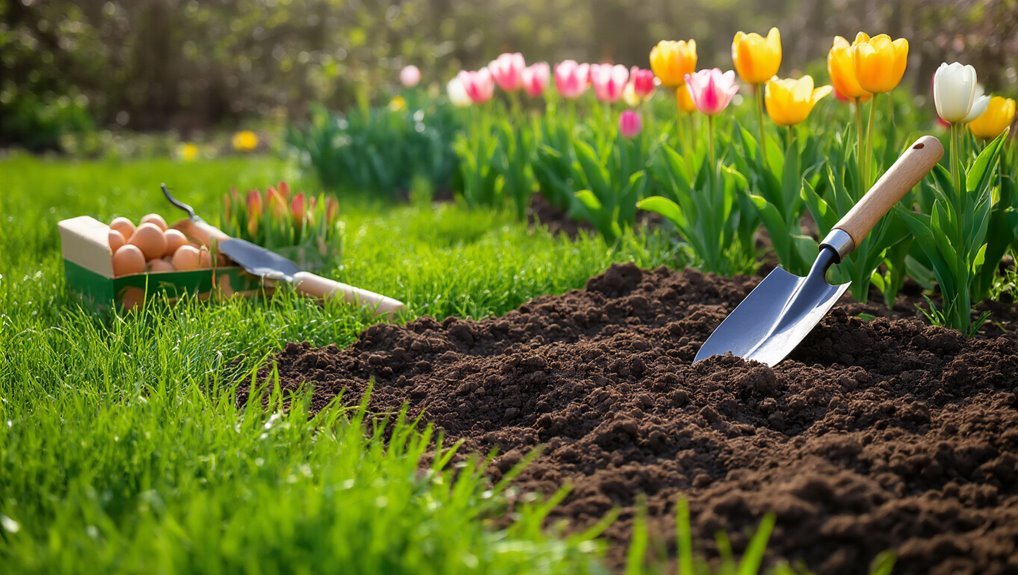
Start by choosing a well-draining location for your tulips, as they thrive best in soil that doesn’t retain excess moisture.
You’ll want to prepare the site properly to ensure vibrant blooms in spring. Follow these steps:
- Clear the area: Remove weeds, rocks, and debris that could hinder growth.
- Test the soil: Check pH levels; tulips prefer slightly acidic to neutral soil (around 6.0 to 7.0).
- Amend the soil: Mix in organic matter like compost to improve drainage and nutrients. For an efficient way to create compost for your garden, consider using compost tumblers to speed up the decomposition process and make nutrient-rich material for your plants.
- Level the ground: Rake the soil to create a smooth, even surface for planting.
For the best results, consider using compost bins to create your own nutrient-rich compost, which will provide your tulips with essential nourishment while supporting soil health.
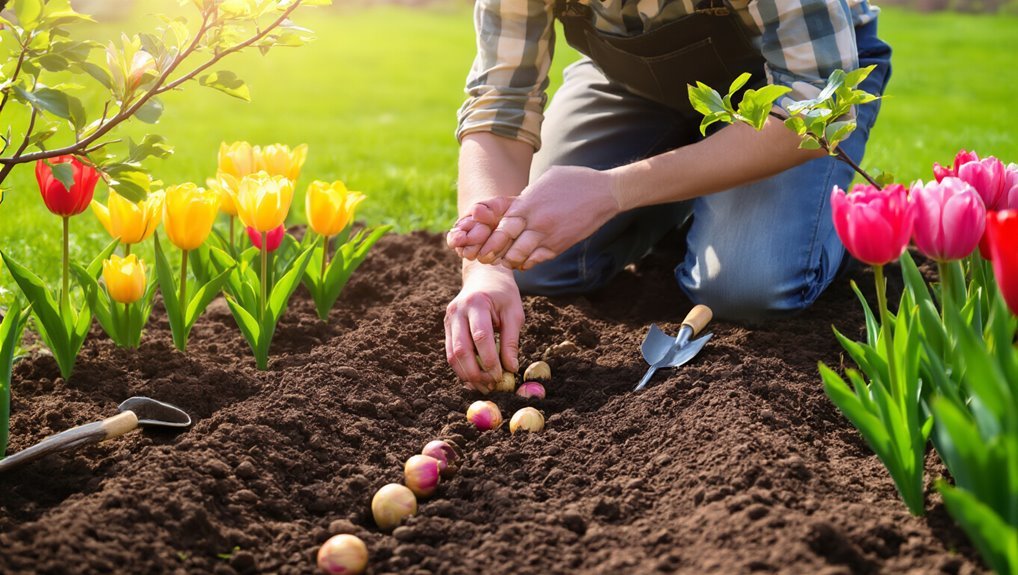
Planting Tulip Bulbs: Step-by-Step Guide
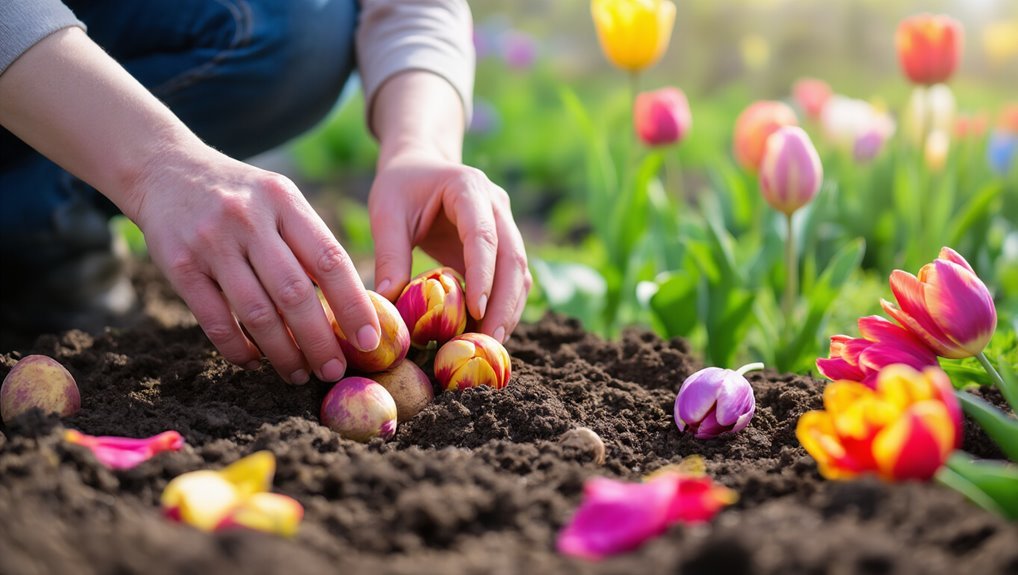
Planting tulip bulbs is a straightforward process that can lead to a stunning display of color in your garden come spring.
First, choose well-draining soil and a sunny location. Dig holes about six to eight inches deep, spacing them four to six inches apart. Place each bulb in the hole with the pointed end facing up. For optimal planting, many gardeners rely on essential garden shovels to make digging easier and more efficient.
After positioning the bulbs, cover them with soil and gently pat it down. Water the area lightly to settle the soil but avoid overwatering.
Mulching can help retain moisture and suppress weeds. Finally, mark your planting area to remember where your tulips will bloom.
For best results, use garden trowels when digging holes for your bulbs, as these tools are specifically designed to make planting easier and more precise.
With these simple steps, you’ll be on your way to a vibrant spring garden filled with beautiful tulips!
Watering and Fertilizing Your Tulips
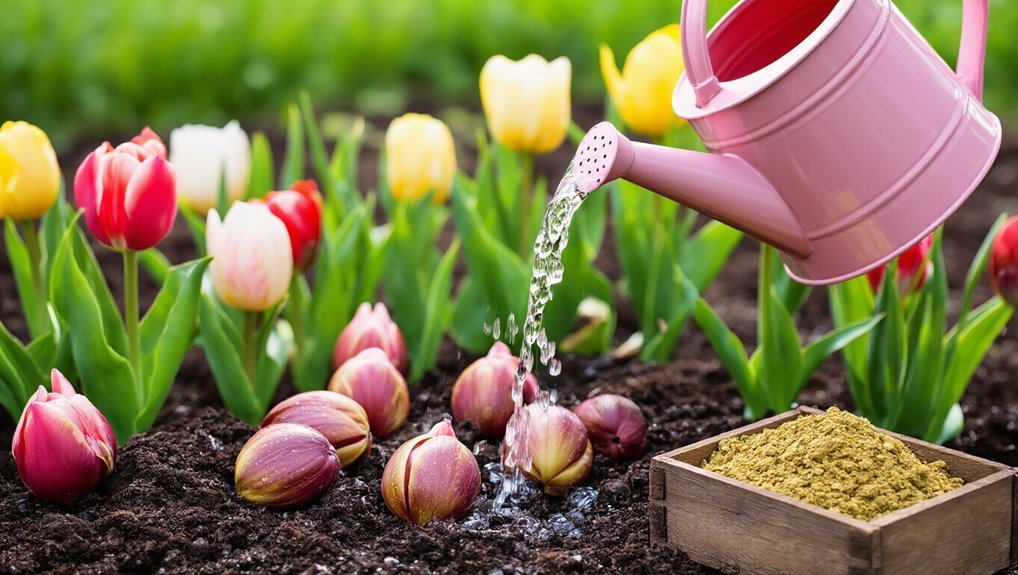
After successfully planting your tulip bulbs, attention shifts to watering and fertilizing them to ensure healthy growth. Proper care will help your tulips thrive and produce vibrant blooms. Here’s what you need to do:
- Watering: Water your tulips deeply but infrequently, allowing the soil to dry out between waterings. This helps prevent rot.
- Timing: Start watering when the shoots emerge in spring, and reduce frequency as the flowers fade.
- Fertilizing: Use a balanced fertilizer at planting time and again when the shoots are about 4-6 inches tall to encourage strong growth. For ease and effectiveness, consider using Plant Fertilizer Tablets which provide consistent nutrients directly to the root zone.
- Soil Check: Regularly check soil moisture; adjust your watering based on rainfall and temperature changes to maintain optimal conditions.
For best results, consider nourishing your tulips with the best plant food options available to support their health throughout the growing season.
Follow these tips for a flourishing tulip garden!
Protecting Tulips From Pests and Diseases
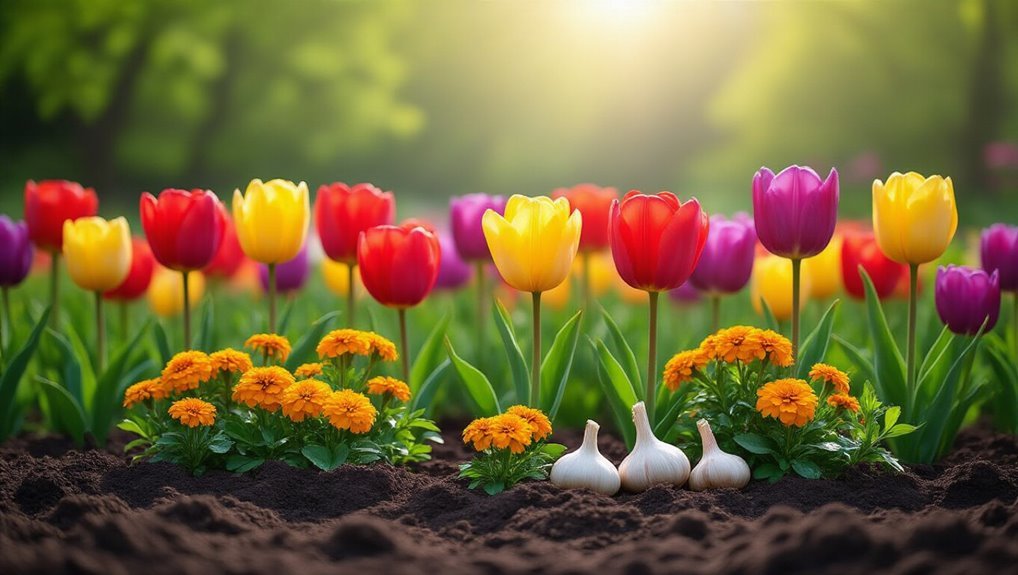
While enjoying the beauty of your tulips, it’s crucial to keep an eye out for pests and diseases that can threaten their health.
Common pests like aphids and slugs can damage your plants, so check the leaves and stems regularly. If you spot any, consider using insecticidal soap or natural predators like ladybugs to control the population. For added protection, you can set up garden pest traps around your tulip beds to help catch and reduce pest numbers.
Fungal diseases, such as botrytis blight, can also affect tulips. To prevent this, ensure good air circulation by spacing your plants appropriately and avoid overhead watering.
If you notice any infected leaves, remove and dispose of them immediately. Regularly inspecting your tulips will help you catch problems early and keep your spring garden vibrant and healthy.
For persistent infestations, you may want to explore effective solutions for pest control to protect your tulips and ensure a healthy, colorful spring garden.
Caring for Tulips During the Growing Season
Once you’ve taken steps to protect your tulips from pests and diseases, it’s time to focus on caring for them during the growing season.
Proper care ensures vibrant blooms and healthy plants. Here are four essential tips:
- Watering: Make sure to water your tulips regularly, especially during dry spells. Aim for about an inch of water per week.
- Fertilizing: Use a balanced fertilizer every few weeks to provide nutrients. This helps support strong growth and flowering.
- Deadheading: Remove spent blooms to encourage energy conservation and prevent seed formation.
- Weed Control: Keep the area around your tulips weed-free. Weeds compete for nutrients and moisture, so regular maintenance is crucial. Using the right edging tools can create a clean boundary between your tulip beds and lawn, making weed control even more effective.
To make weed removal easier and more effective, consider using essential weeding tools specifically designed for gardeners.
Enjoying Your Blooms: Post-Bloom Care
As your tulips finish blooming, it’s important to focus on their post-bloom care to ensure they remain healthy for the next season.
Start by allowing the leaves to die back naturally; this helps the bulbs store energy for next year. Avoid cutting the foliage until it turns yellow and wilts. You can also remove any spent flowers to prevent seed formation, but let the leaves do their job. For gardeners interested in monitoring soil conditions, using a compost thermometer can help ensure your garden beds maintain the ideal environment for bulbs to thrive.
If the soil is dry, give your tulips a light watering. Once the leaves have fully died back, you might consider lifting and dividing the bulbs if they’re crowded.
Store them in a cool, dry place until it’s time to replant in the fall. With proper care, your tulips will reward you with stunning blooms next spring! For gardeners interested in multiplying their favorite plants, Plant Propagation Stations offer a stylish and effective way to root cuttings and grow new greenery indoors.
Frequently Asked Questions
Can Tulips Grow in Containers or Pots?
Yes, you can grow tulips in containers or pots! Just choose a pot with good drainage, use quality potting soil, and ensure they get enough sunlight. Water them adequately, and enjoy their vibrant blooms wherever you like.
Are Tulips Deer-Resistant Flowers?
Tulips aren’t completely deer-resistant, but their taste often discourages deer. If you’re concerned, consider planting them alongside other deer-repelling plants or using repellents to keep those pesky animals away from your beautiful blooms.
How Do I Store Leftover Tulip Bulbs?
You might think leftover tulip bulbs need special treatment, but they don’t! Store them in a cool, dry place, preferably in paper bags, and keep them away from moisture to ensure they remain healthy for next season.
Can I Plant Tulips in Partial Shade?
Yes, you can plant tulips in partial shade, but they won’t bloom as vibrantly. Ensure they get at least a few hours of sunlight daily for better growth and more colorful flowers in spring.
What Colors Do Tulips Come In?
Tulips burst forth in a kaleidoscope of colors, dazzling like a painter’s palette! You’ll find them in vibrant reds, soft pinks, sunny yellows, pure whites, and even deep purples, each shade bringing joy to your garden.
Conclusion
With a little care and attention, your tulips will burst into color like a painter’s palette in spring. Remember to choose the right varieties, plant at the right time, and give them the care they need throughout the season. By following these steps, you’ll create a vibrant garden that brings joy to your home. So, get your hands in the soil, and let the beauty of tulips brighten your spring days!